


The first indications of accident repairs come from uneven panel gaps between doors, wings, the bonnet and the tailgate — when these spacings noticeably vary from panel to panel, that points to shifted or replaced body parts. Further lay indications are colour differences between adjacent surfaces, visible paint seams at edges, conspicuously new replacement parts (fresh-looking headlights, bumpers or mirrors) as well as unusual welds or body bonding in the engine bay and boot. What a layperson cannot reliably say from this: whether it is a professional repair without structural damage or serious damage with consequences for rigidity and driving safety. That assessment requires paint-thickness measurement and the experience of a vehicle appraiser.
Spotting accident damage: what you can see during a viewing and where the limits lie
Used cars are often sold with repaired accident damage — sometimes declared, sometimes concealed. Uneven panel gaps, colour differences, new replacement parts and visible welds provide initial indications. But what a layperson sees and what an appraiser establishes with a paint-thickness gauge are two very different things.
Why accident damage matters so much when buying a used car
Undeclared accident damage is one of the most common points of dispute when buying a used car. Unlike defects disclosed in the contract, damage that has been fraudulently concealed can lead to the purchase contract being rescinded — but that is of little help once the vehicle has already been handed over and proof is difficult.
That is why an inspection before the purchase is decisive. Anyone who knows where to look and which lay indications point to repairs can identify many cases early. What no layperson can reliably judge: whether a repair was carried out professionally, whether load-bearing structures are affected and how severe the original damage was. That is precisely what makes the difference between a vehicle with reduced value and a potentially unsafe one.
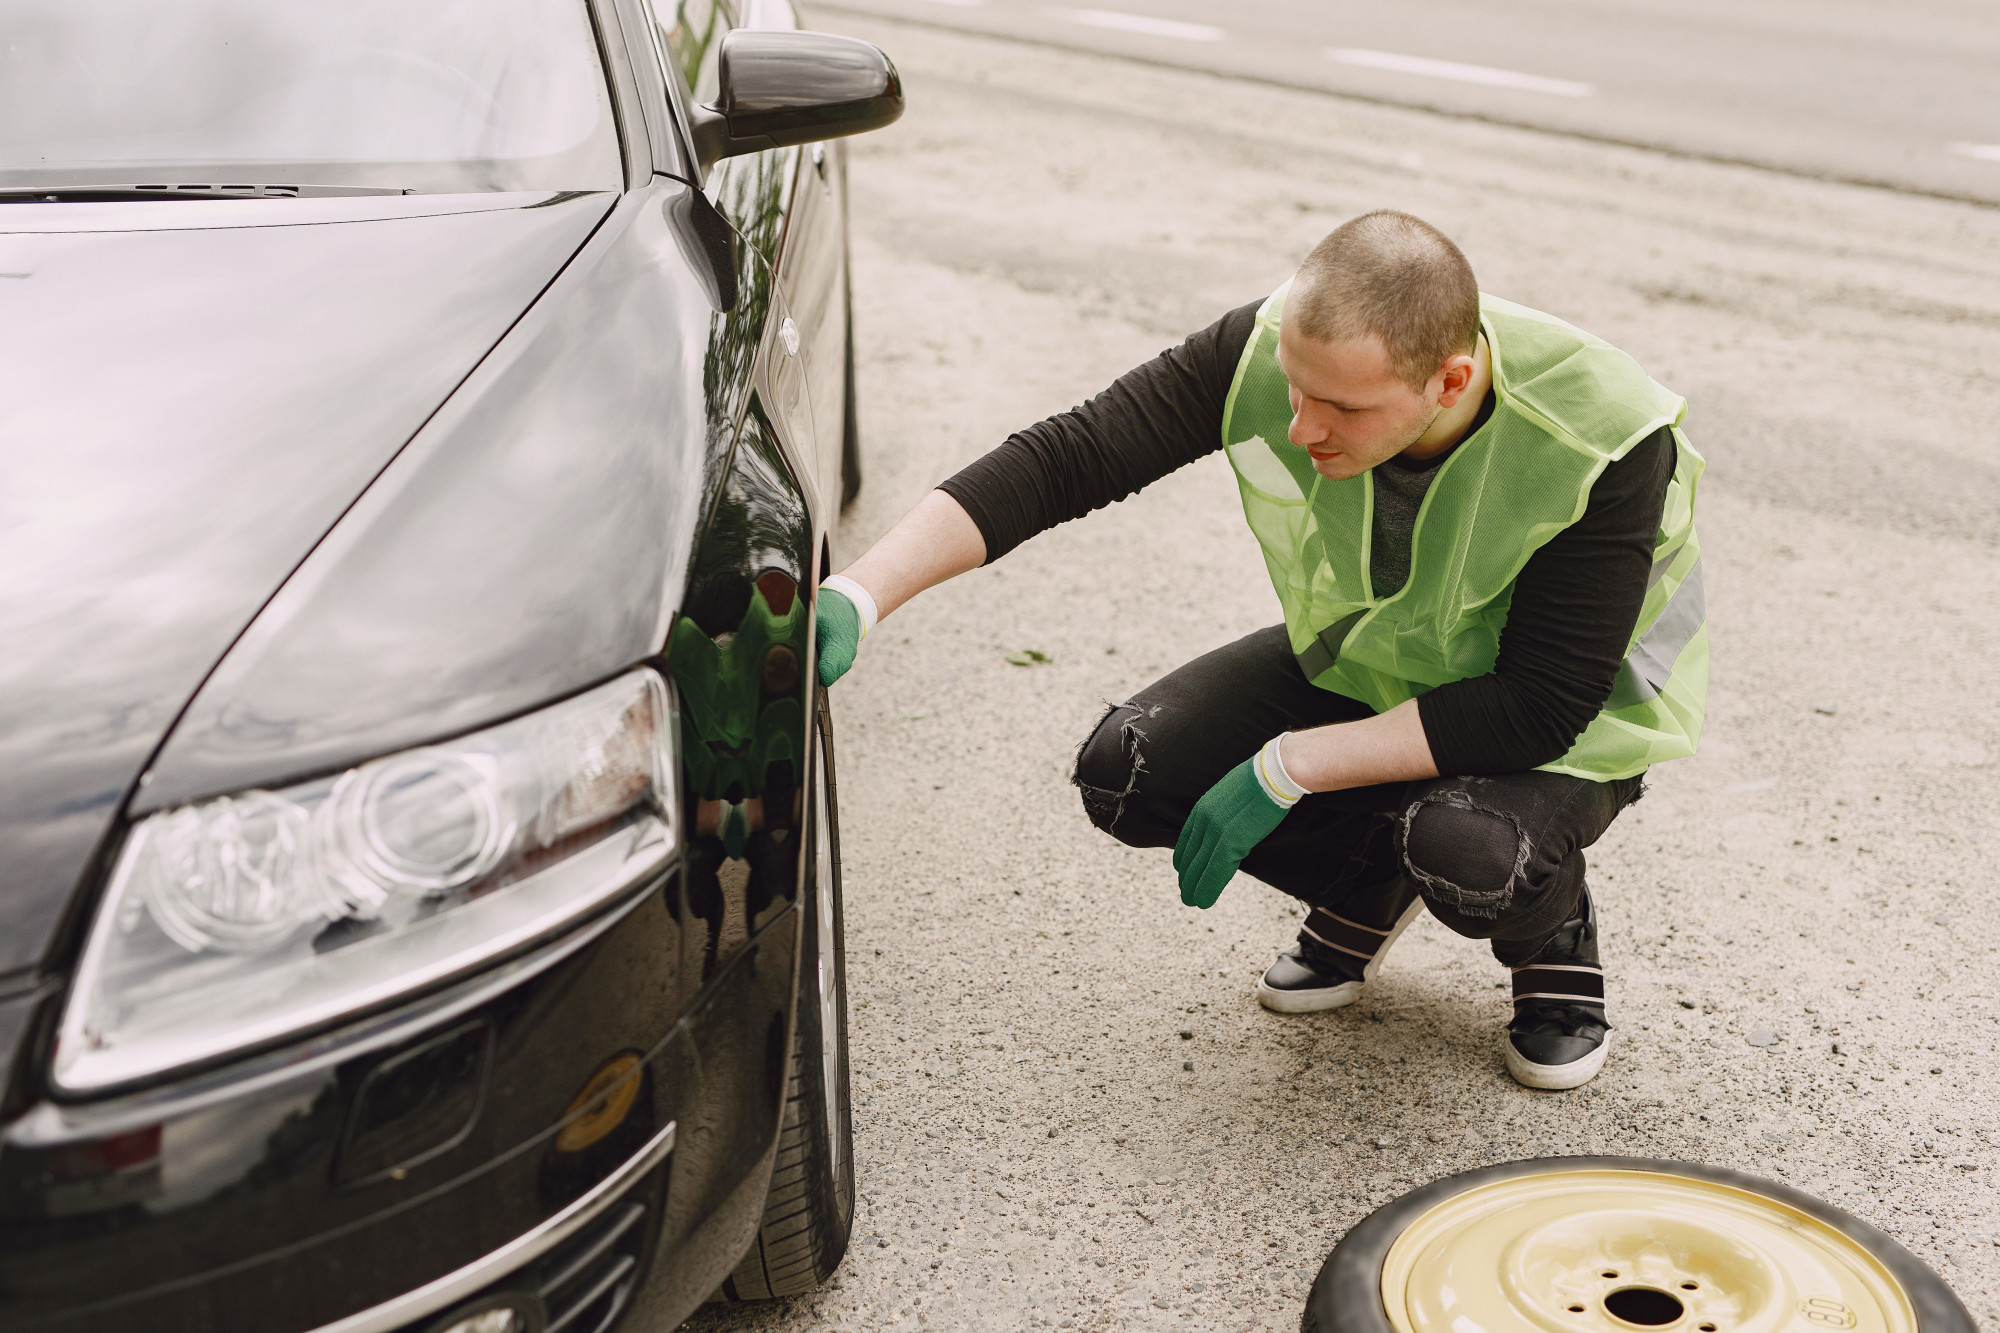
Panel gaps: the clearest lay indication
Panel gaps — the even spacing between adjacent body parts — are one of the most reliable lay indications of accident repairs. When a vehicle is repaired after a collision, it is not always possible to bring every part back into exactly its original position. The result: doors, wings, the bonnet, the tailgate or bumpers no longer sit evenly.
What you can check:
- Doors and wings: Stand to the side of the vehicle and look along the bodywork. Are the gaps between the door and the wing equally wide on both sides?
- Bonnet: Does the distance to the headlight surround match on the left and right? Does the bonnet sit flush on the frame?
- Tailgate and bumper: Does the tailgate sit symmetrically? Does the gap to the bumper run evenly?
- A, B and C pillars: Are the door gaps identical at the top and bottom edge — or does the gap widen towards the top or bottom?
A slightly uneven gap does not necessarily indicate an accident — sometimes the causes lie in manufacturing tolerances or age-related warping. Several conspicuous deviations on one vehicle, however, are a strong warning sign.
Colour differences: when adjacent panels do not match
Paint ages. Even originally painted panels change in colour and gloss over the years — varying with sun exposure, care and age. This makes colour comparisons harder than it sounds. Even so, repaints can often be identified:
What you see:
- One panel looks glossier or more matt than its neighbours — particularly noticeable when viewed from a shallow angle.
- The colour shifts slightly when you run your hand flat across the seam between two panels and compare the surfaces.
- The surface texture ("orange peel" effect) appears finer or coarser on one panel than on the others.
Where you should look:
Always check in pairs: left and right wing, left and right door, bonnet and roof. If one panel clearly differs from the rest, that is an indication of a repaint. Whether a dent, a scratch or more serious damage was behind it cannot be determined without a gauge.
Paint seams at edges:
Original vehicle paint is applied before the attached parts are fitted — edges and seams are therefore painted continuously. With a repaint carried out while parts are mounted, however, paint seams form: a slightly raised line at the edge of the overpainted area. You will often find these seams on door sills, wing edges or along the bonnet opening.
New replacement parts: fresh parts on an old vehicle
Another lay indication is obviously new replacement parts on an older vehicle. Headlights, tail lights, bumpers, exterior mirrors and wings are parts that are frequently damaged in accidents and replaced.
What you can spot:
- Headlights and tail lights: Fresh-looking, clear units next to plastic parts with age-related cloudiness or UV yellowing.
- Bumpers: No scuffs, no parking dents, no abrasion marks — conspicuous on a vehicle with 80,000 or 120,000 kilometres.
- Gap profiles and trim strips: New rubber seals or trim strips in one spot, while the rest of the vehicle has clearly aged seals.
New parts alone are no proof. Sometimes parts are replaced for other reasons: stone chips on the headlight, a parking knock on the bumper. What matters is the combination: new parts plus uneven panel gaps plus paint deviations together paint a picture.
Welds and body bonding in the engine bay
In the engine bay and the boot, the body joints are visible. On an unrepaired vehicle, these welds run evenly, without any subsequent intervention. After a repair in which sheet metal was cut and rejoined, deviations can become visible:
- Overlapping welds: When a new seam has been laid over an old one, the result is an irregular appearance.
- Weld beads or grinding marks: They show that a spot has been reworked — normally cleanly concealed at the factory and not visible.
- Fresh body sealant: Thicker, smoother or unevenly applied sealant can indicate that repairs are hidden underneath.
- Insulation material and adhesive: In the boot and under carpets there are often insulation pads. If these do not sit cleanly, look damaged or re-glued, that is a notable point.
Check systematically: open the bonnet and look into the corners. Open the boot fully and fold back the carpet as far as possible without tools.
What paint-thickness measurement achieves
Paint-thickness measurement is the key tool when visual lay indications leave questions open. The gauge determines the thickness of the paint layer in micrometres without contact:
- Original paint is around 80 to 140 micrometres, depending on the manufacturer and the component.
- Filler and primer after a repair increase the layer thickness significantly — values of 300, 500 or over 1,000 micrometres show that a spot has been reworked.
- Bare metal or plastic (on replaced parts) shows very low values — an indication of new parts.
The measurement does not provide legal certainty, but it gives solid reference points. An appraiser measures not only at obvious spots, but systematically at all relevant body panels — and interprets the results in the context of the overall picture.
Paint-thickness measurement is part of the checkdenwagen Premium check (from €339 incl. VAT and travel) — supplemented by OBD diagnostics, a test drive and a complete photo report.
What you, as a layperson, cannot reliably judge
Even if you know all the visible indications and proceed systematically, there are limits:
- Extent of structural damage: Whether an accident affected only sheet-metal parts or also longitudinal members, cross members and the floor pan cannot be said without a lift and expert knowledge.
- Quality of the repair: A professionally executed repair often looks visually just like a poor one — the difference shows in the rigidity of the bodywork and in driving safety, not on the surface.
- Hidden repaints: Professionally reworked spots can remain undetected even with a careful visual inspection.
The combination of a lay visual inspection, paint-thickness measurement and an expert assessment gives you the most complete picture possible without dismantling the vehicle.
Before the purchase: takeaway for buyers
A systematic walk-around of the exterior takes 15 to 20 minutes in daylight and gives you initial indications. But it does not replace a professional inspection — especially not for vehicles in the mid or higher price segment, for vehicles without a complete service history, or when buying privately without a warranty.
checkdenwagen comes directly to the seller. The appraiser inspects the vehicle from the buyer's perspective, measures all relevant paint thicknesses in the Premium package and delivers a photo report to you within 24 hours — as a basis for your decision.
Found the car you want? Have it inspected before you buy.
Our inspector comes straight to the seller — fixed price from 289 €, report within 24 h.
Frequently asked questions: spotting accident damage on a used car
Known accident damage must be disclosed. Anyone who fraudulently conceals damage risks the buyer rescinding the purchase contract. In practice, proving this is difficult, especially when the damage has been professionally repaired. That is why an inspection before the purchase is decisive — not afterwards.
Accident damage or not? Have it checked professionally.
checkdenwagen comes directly to the seller: paint-thickness measurement, visual inspection and OBD — photo report within 24 hours.